Learning how to document your patient’s dental journey through the lens of a camera not only provides documentation for your patient, but also an opportunity to get to share patient stories, smile transformations and show off your skills on social media.
Adamo Notarantonio, DDS, FICOI, FAACD is an inteternationally renowned dentist and lecturer who owns and practice at Huntington Bay Dental in Huntington, New York, and is the Vice President of the American Academy of Cosmetic Dentistry.
Dr Notarantonio has grown his social media folloiwng to more than 18,900 follower on Instagram. BISCO spoke to Dr Notarantonio about dental photography and shared some tips to keep in mind when taking pictures.
Tip #1
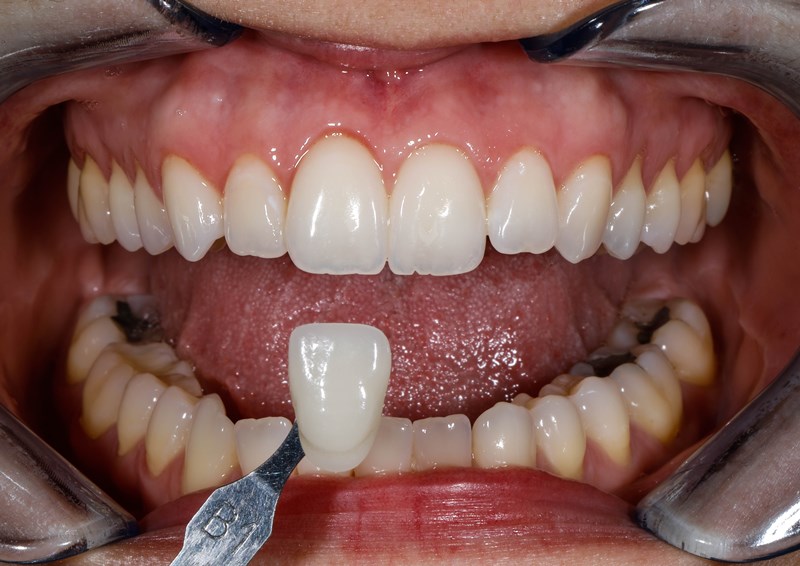
Shoot your photo perpendicular to your tooth and shade tab and make sure the tabs are directly under or above the teeth you are photographing.

The shade tabs are directly underneath the teeth and perpendicular to the lens. This allows for the light of the flash to reflect off of the tooth and shade tabe at the same time.
This image shows an incorrect position of the the tab.
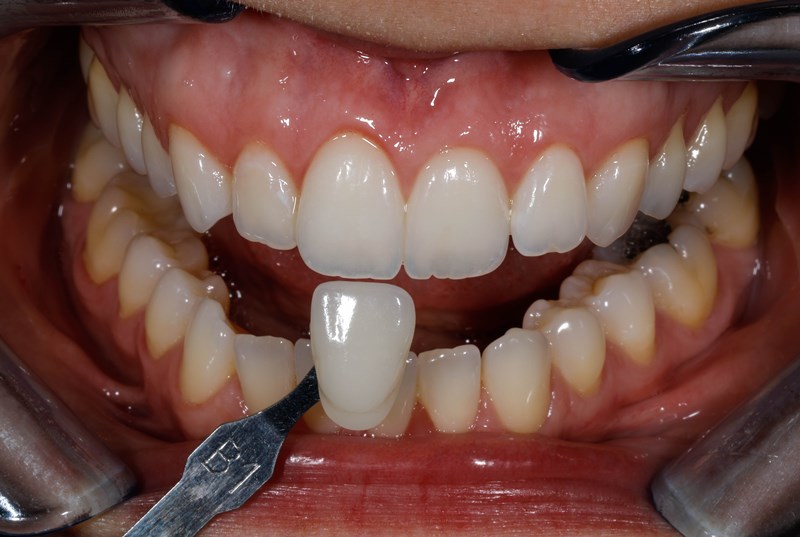
This image shows an incorrect approach angle.
Tip #2
Make sure your settings allow for proper exposure. If your photos are over exposed or under exposed, Dr. Notaratino recommends dentists to take a course to help you better understand your camera and its settings.
Tip #3
Take many photos. Your laboratory will never tell you “You gave too much information.”
When you’re taking your next dental photos remember our three tips for successful outcomes! Follow us on Instagram.