

Posterior Composites - Quantium
A posterior composite restoration is a dental procedure using dental composite to restore the loss of tooth structure to posterior teeth due to caries, wear, fracture, etc.
BISCO Recommends
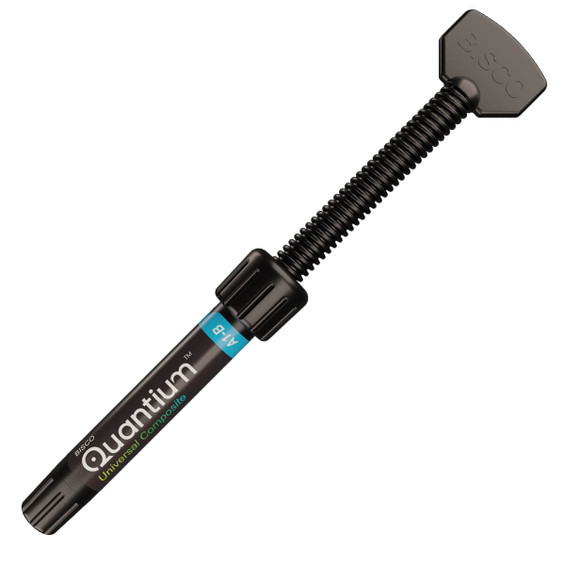
All-Bond Universal® and Quantium® Composite are indicated for direct posterior restorations. All-Bond Universal promotes adhesion to dentin and enamel and is compatible with multiple etching techniques, while Quantium provides a universal composite with controlled placement and incremental layering for posterior restorations requiring strength and adaptation.
See below for the Step-by-Step technique.
STEP 1
Select
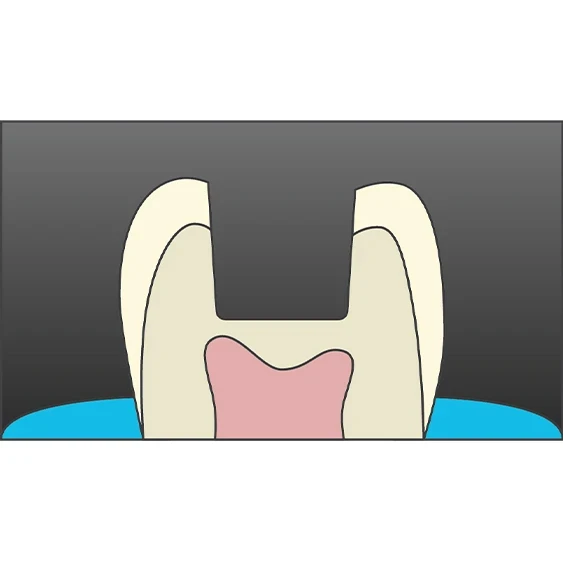
Select the desired Quantium shade prior to isolating and preparing the tooth. Clean, rinse, and isolate.
STEP 2
Place Matrix
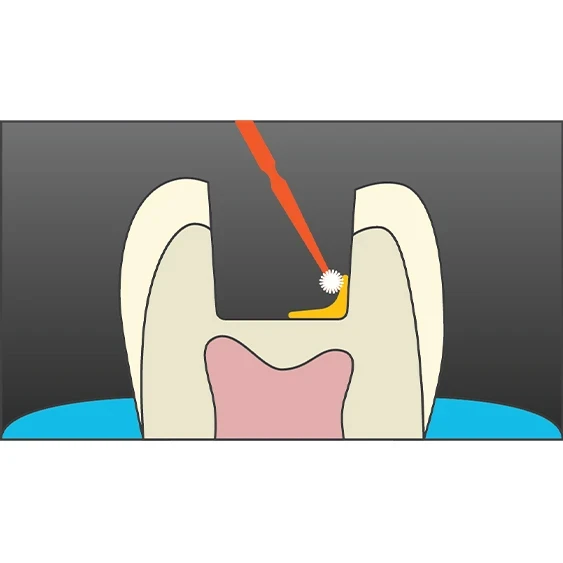
If needed, place a matrix, and apply an adhesive, such as All-Bond Universal, following manufacturer's instructions.
STEP 3
Dispense
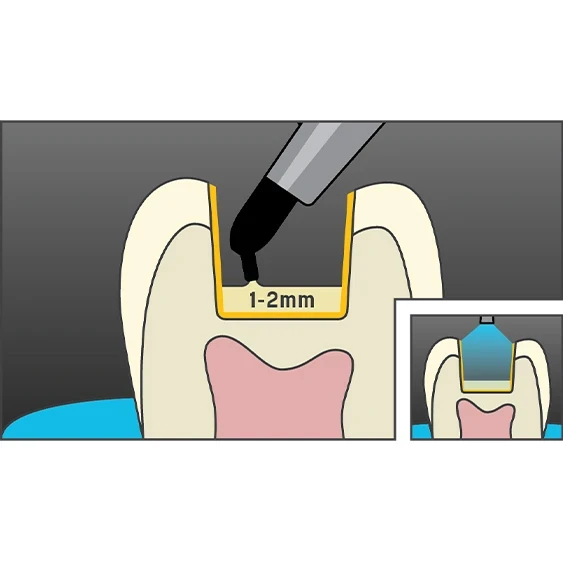
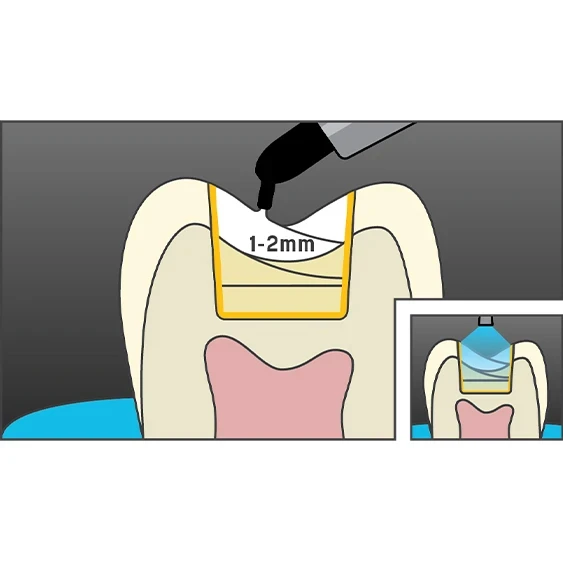
Desired amount of Quantium body shade onto a mixing pad by turning the syringe handle clockwise. If using unit dose tips, inject Quantium directly into preparation. Place Quantium in 1-2 mm increments into the cavity preparation up to the dentin enamel junction, leave space for a final enamel layer. Light-cure each increment with a curing light for 20 seconds.
STEP 4
Select
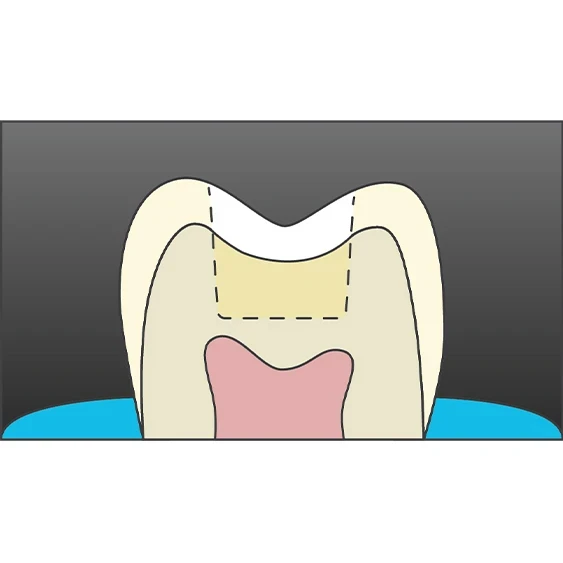
Select the desired Quantium enamel shade (optional) for the last 1-2 mm increment of the restoration, apply, and light cure each increment for 20 seconds.
STEP 5
Occlusion
Check the occlusion, finish, and polish.