
Veneer Cementation of Zirconia - Choice 2
The veneer cementation of zirconia indirect restorative procedure bonds zirconia veneers using adhesive protocols tailored to zirconia’s surface chemistry for reliable long-term retention and esthetics.
BISCO Recommends
Choice 2 Try-In Paste supports shade selection before final cementation. All-Bond Universal is used to support adhesion to tooth structure. Choice 2 Veneer Cement is a light-cure resin cement designed for veneers where esthetics and working time are considerations.
See below for the Step-by-Step technique.

STEP 1
Prepare
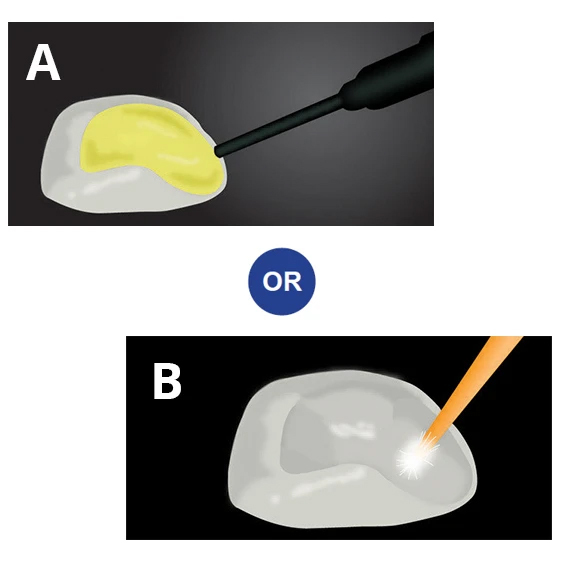
Prepare the internal surface of the restoration as instructed by the laboratory:
- a. Porcelain/Lithium Disilicate: If needed, etch the veneer with hydrofluoric acid (4% Porcelain Etchant or 9.5% Porcelain Etchant) according to the manufacturer’s instructions.
- b. Apply a thin coat of silane (Porcelain Primer/Bis-Silane™) to the internal surface. Wait for 30 seconds, or dry with (warm) air.
STEP 2
Temporary Restoration
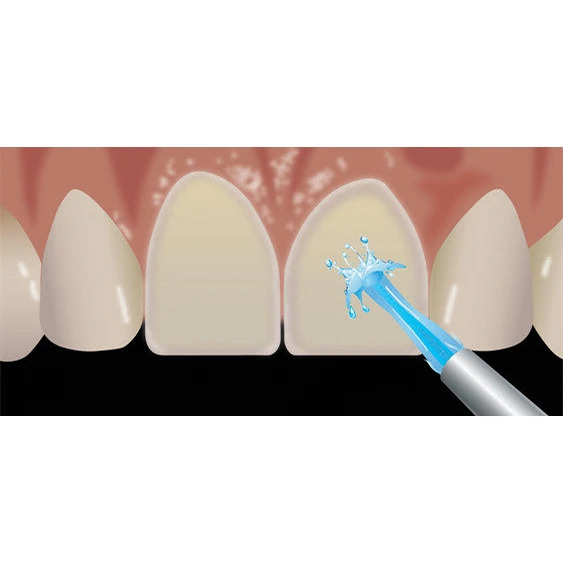
Remove the temporary restorations and clean the preparations (Cavity Cleanser™ and pumice slurry). Rinse thoroughly.
STEP 3
Try in
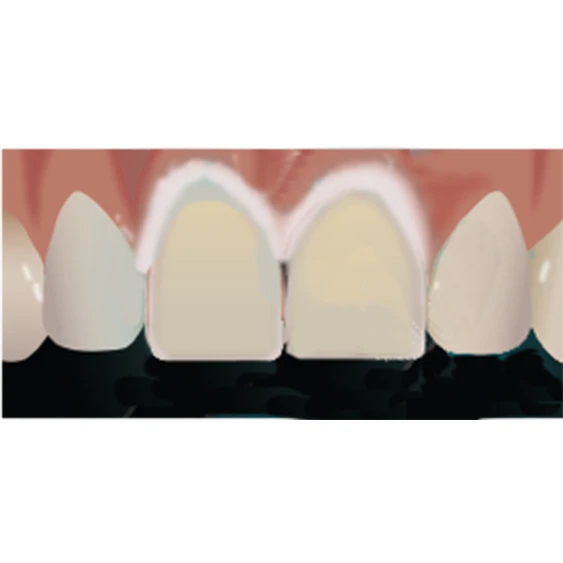
Try in the restorations using the corresponding shade of water-soluble try-in paste (Choice™ 2 Try-In Paste). Remove the veneers and either clean with etchant (Uni-Etch® w/BAC or Select HV® Etch w/BAC) and rinse thoroughly, or ultrasonicate in water or alcohol for 2-3 minutes. Dry the restorations.
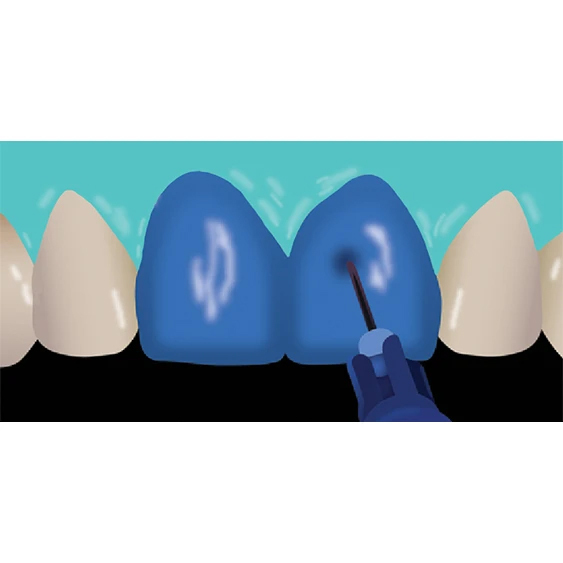
STEP 4
Isolate
Isolate. Etch preparations (Uni-Etch w/BAC or Select HV Etch w/BAC) for 15 seconds, rinse thoroughly.
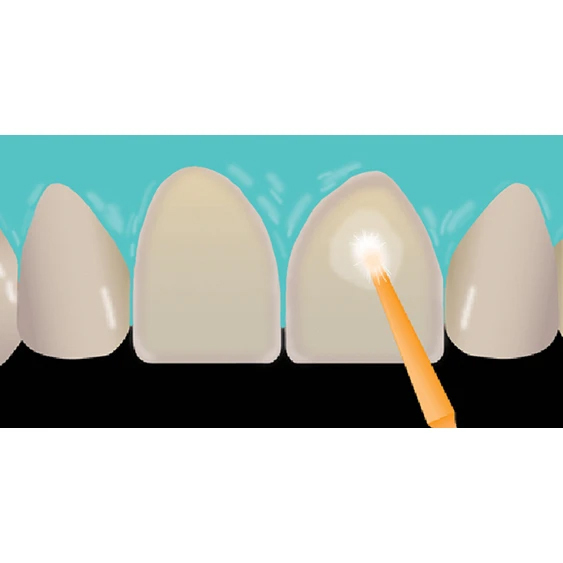
STEP 5
Adhesive
Isolate. Etch preparations (Uni-Etch w/BAC or Select HV Etch w/BAC) for 15 seconds, rinse thoroughly.
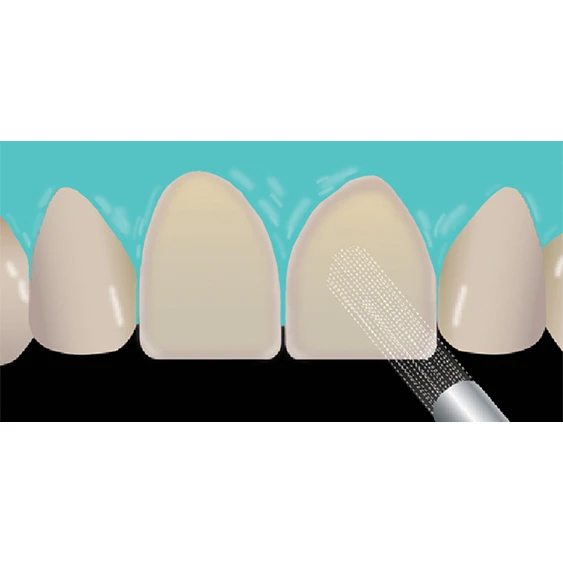
STEP 6
Air Dry
Gently air dry until there is no visible movement of the adhesive. Then thoroughly air dry with greater air pressure. The surface should appear shiny, otherwise apply additional coats.
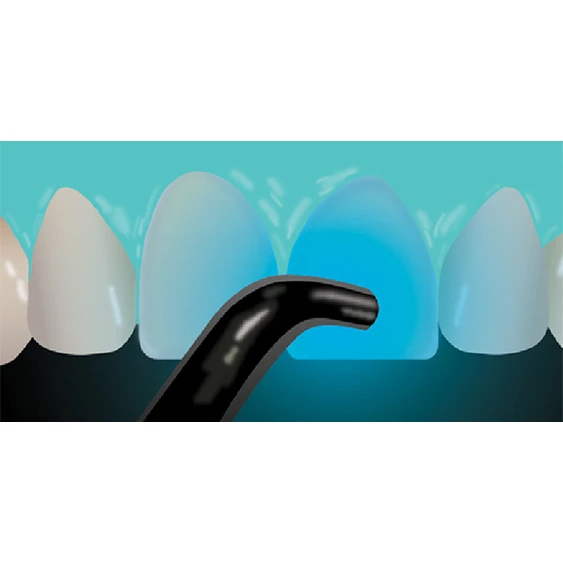
STEP 7
Light cure
Light cure for 10 seconds.
STEP 8
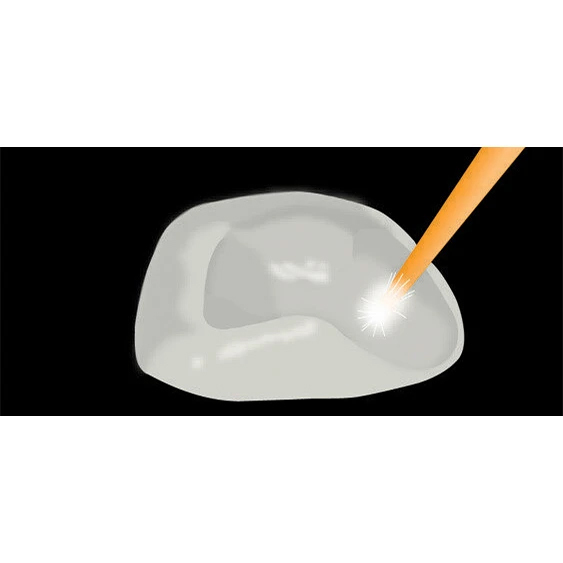
Resin
Apply a thin layer of HEMA-free resin (Porcelain Bonding Resin) to the internal surface of the veneer. Do NOT light cure.
STEP 9
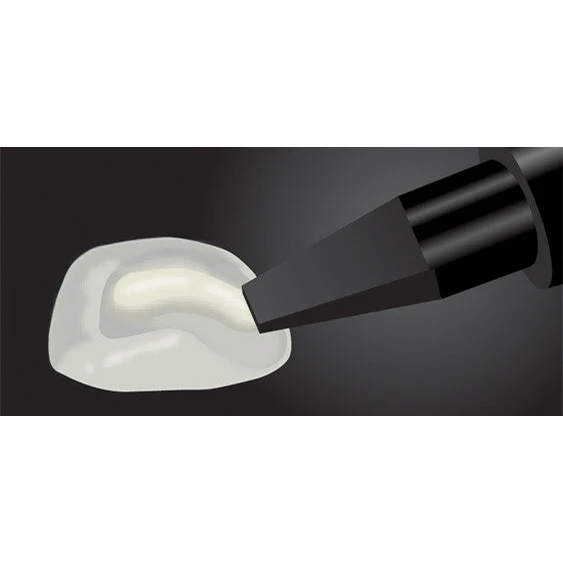
Cementation
Using a light-cured resin cement (Choice 2 Veneer Cement[PL5.1]), fill the internal surface of the restoration with the cement.
STEP 10
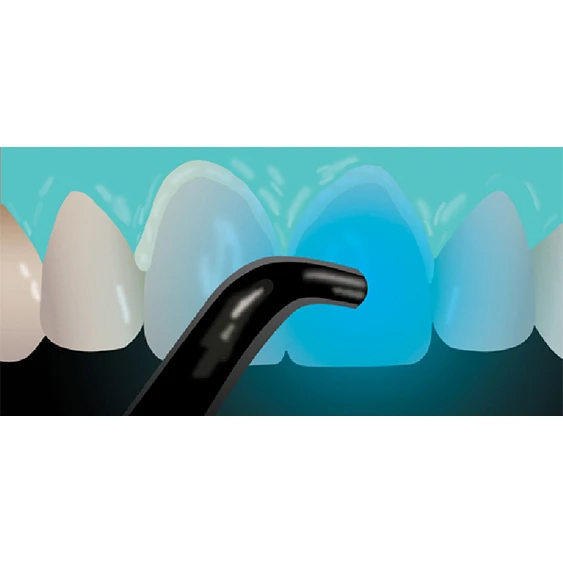
Seat
Seat with gentle, passive pressure and light cure for 2-3 seconds to tack the veneer into place. Remove excess cement, then light cure each veneer for 40 seconds.