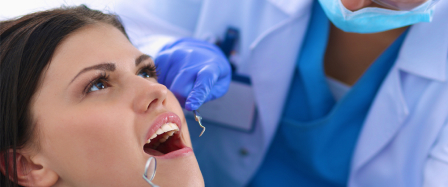
When a restoration breaks or fails, the last thing a patient wants to hear is that they need a brand-new one. Patients come to you expecting a quick, effective fix—and with BISCO’s Intraoral Repair Kit, you can deliver just that.
The All-in-One Solution for Efficient Dental Repairs
BISCO’s Intraoral Repair Kit is designed to save valuable chair time while providing seamless restorative repairs. This versatile and cost-effective kit includes everything you need:
- Z-Prime Plus
- Porcelain Primer
- Porcelain Bonding Resin
- Dual-Cured Opaquer
- Porcelain Etchant (9.5% HF)
- Barrier Gel
With the ability to repair porcelain, lithium disilicate, porcelain-fused-to-metal, zirconia/alumina, and both direct and indirect composite restorations, this kit offers a streamlined approach to in-office fixes.
Real-World Results: A Dentist’s Perspective
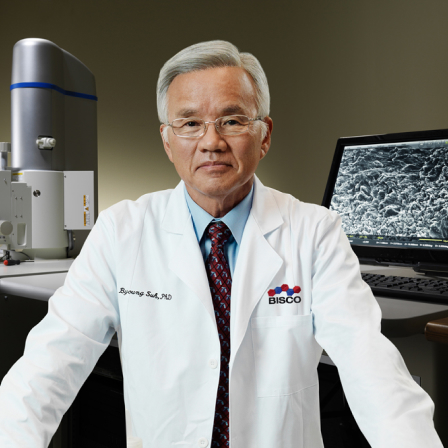
Dr. Alan Pressman, a dentist practicing in Spring Valley, NY, has relied on BISCO’s Intraoral Repair Kit for over a year and a half. He describes it as the “perfect Band-Aid” for damaged restorations. “It’s a marvelous kit,” he says. “It gives you everything you could possibly need to do a porcelain repair. I even use it for e.max.” The kit allows Dr. Pressman to efficiently handle various repair cases, from bonding a piece of porcelain back onto a crown to repairing a hole in a 3-unit bridge. “You couldn’t even tell,” he says of the bridge repair. “It worked great.”
Cost-Effective Repairs That Patients Appreciate
One of the biggest advantages of the Intraoral Repair Kit is the cost savings it offers patients. Instead of paying $1,500 for a new crown or $4,500 for a new bridge, patients can opt for a repair that costs only a few hundred dollars. “Cost savings to the patient are astronomical,” Dr. Pressman explains. This affordability makes a significant difference for patients who may not be able to afford a full replacement but still want their smile restored.
Trusted Products, Trusted Results
Dr. Pressman is a long-time user of BISCO products, including All-Bond Universal, TheraCem, and TheraCal LC. He appreciates the reliability of the materials and the strong support from his BISCO representative. “The Intraoral Repair Kit is among my go-to BISCO solutions. It is very versatile and easy to use,” he says. “And the results are incredible.”
Case in Point: From Real-Life Problems to Same-Day Solutions
Case 1: Emergency Wedding Day Repair
A patient arrived with a fractured implant-retained porcelain crown, but fortunately, he had most of the fractured porcelain piece intact. Using the Intraoral Repair Kit, Dr. Pressman treated the fragment like a “telescope” veneer cementation. After carefully etching, priming, and applying a flowable composite to match the color, the patient walked out just in time for his wedding—still smiling.
Case 2: Restoring a 26-Year-Old Veneer
A patient’s porcelain veneer laminate (PVL) fractured after 26 years of wear. Dr. Pressman beveled the existing fractured PVL, etched, primed, and bonded the area using BISCO’s high-quality materials. The result? A flawless restoration that blended seamlessly with the patient’s existing smile.
Conclusion: A Must-Have for Every Practice
BISCO’s Intraoral Repair Kit is an invaluable addition to any dental practice, making restoration repairs easier, more efficient, and more affordable for patients. Whether it’s a minor chip or a significant break, this all-in-one solution ensures quick and seamless results—saving both time and money.