
As part of a year-long celebration to mark BISCO's 40th anniversary, we asked dentists to submit their best cases featuring BISCO products.
We hope this case continues to inspire you and your team!
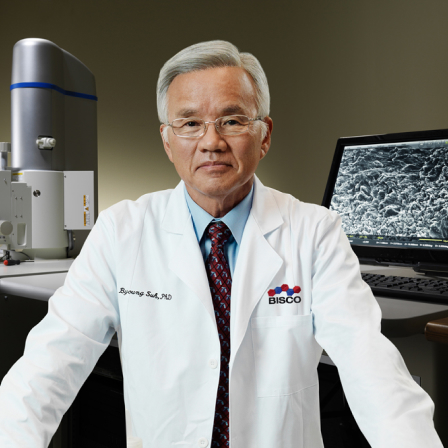
Case Study: Correcting Tooth Proportions
The dentist chose to use the indirect technique for this smile design for its superior mechanical behavior.
Courtesy of Noé Orellana DDS, PhD
Case Description: The veneers placed in this case gave the patient a more youthful smile.


As part of a year-long celebration to mark BISCO's 40th anniversary, we asked dentists to submit their best cases featuring BISCO products. We hope this case continues to inspire you and your team! To view all the cases selected and published click on BISCO's BEST: Cases to Inspire You
Case Study: Correcting Tooth Proportions The dentist chose to use the indirect technique for this smile design for its superior mechanical behavior.
Courtesy of Noé Orellana DDS, PhD
Case Description: The veneers placed in this case gave the patient a more youthful smile.
A digital smile design was performed to decide the correct anterior tooth proportions, which included tooth Nos. 12 to. 22. Once the wax-up was complete, a silicone matrix was fabricated for the mock-up technique. The mock-up was done with bisacrylic material. Once the patient approved the mock-up, the preparations were performed, followed by double silicone impression and cementations. This was done according to BISCO instructions, which call for using rubber dam isolation to avoid contamination, allow for a clean restorative environment, correct visualization of the gingival margin during adjustment of the veneer restorations, and to facilitate the removal of excess cement. After the veneers were cemented, the final result was a beautiful and more youthful smile. The patient confirmed her satisfaction with the smile enhancement after the procedure and during the six-month follow-up consultation. Gingival inflammation Figure 1: Gingival inflammation caused by the prosthetic restoration violating the space of the supracrestal gingival tissue. Healthy Gingival Tissue Figure 2: Healthy gingival tissue after the crown lengthening procedure and proper reestablish-ment of supracrestal tissue components. Lithium disilicate restorations with surface stain technique Figure 3: Minimally invasive lithium disilicate (Mt A1) restorations with surface stain technique. Acid etching with Hydrofluoric Acid Etchant Figure 4: The restoration was etched using BISCO Hydrofluoric Acid Etchant. Apply Select HV Etch Figure 5: The dentin and enamel were etched using Select HV Etch. Applying All-Bond Universal Figure 6: Two separate coats of All-Bond Universal were applied to the preparation. Remove excess cement Figure 7: Excess cement was removed after each light-cure to lock them in place. Final Restoration Figure 8: Final restoration. Six-month control image after the veneers were cemented.