
null
Skip to main content
Buy 2, Get 1 FREE Z-Prime Plus

4ml Only. Use Promo code 26PRIME3. U.S. Customers Only. Discount cannot be combined with any other offer. Unlimited quantities. Expires 9/30/26.

Shop Z-Prime

Become a Bisco member for preferential pricing, early access, and loads of other great benefits.

Cancel

Porcelain Etchant supports surface conditioning of ceramic veneers where indicated. Porcelain Primer or Bis-Silane promotes chemical interaction with silica-based ceramics. Uni-Etch w/BAC or Select HV Etch w/BAC supports enamel conditioning. All-Bond Universal is used to support adhesion to tooth structure. Choice 2 Try-In Paste supports shade evaluation prior to final placement. Choice 2 Veneer Cement is a light-cure resin cement formulated for the cementation of glass ceramic veneers where esthetics and working time are considerations.

See below for the Step-by-Step technique.

Veneer Cementation of Glass Ceramics Step 1
STEP 1

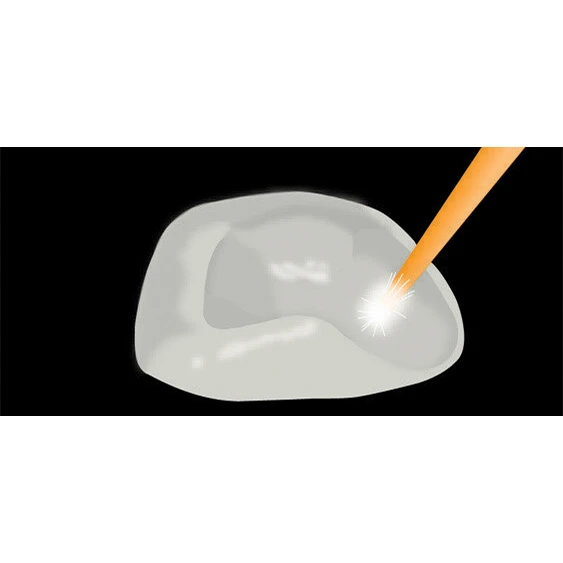
Prepare

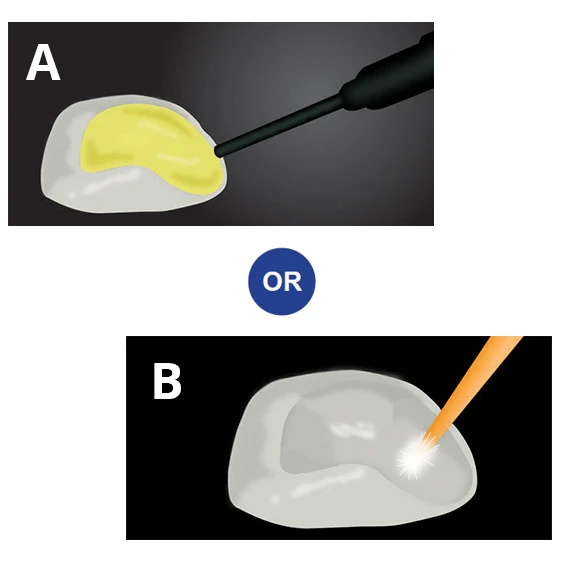
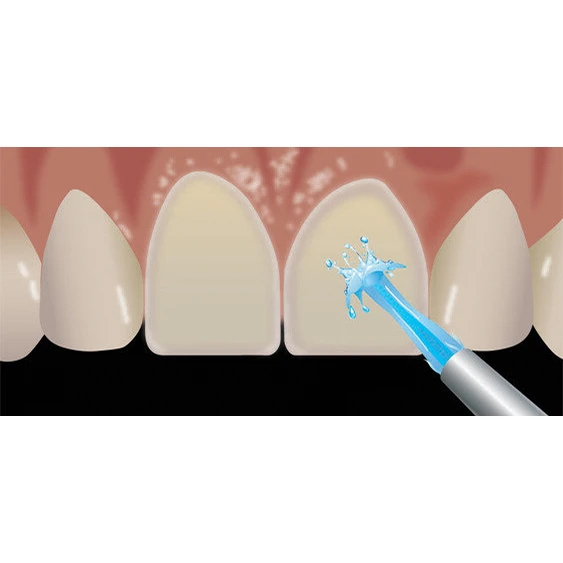
Prepare the internal surface of the restoration as instructed by the laboratory:
  • a. Porcelain/Lithium Disilicate: If needed, etch the veneer with hydrofluoric acid (4% Porcelain Etchant or 9.5% Porcelain Etchant) according to the manufacturer’s instructions.
  • b. Apply a thin coat of silane (Porcelain Primer/Bis-Silane™) to the internal surface. Wait for 30 seconds, or dry with (warm) air.
Veneer Cementation of Glass Ceramics Step 2
STEP 2

Temporary Restoration

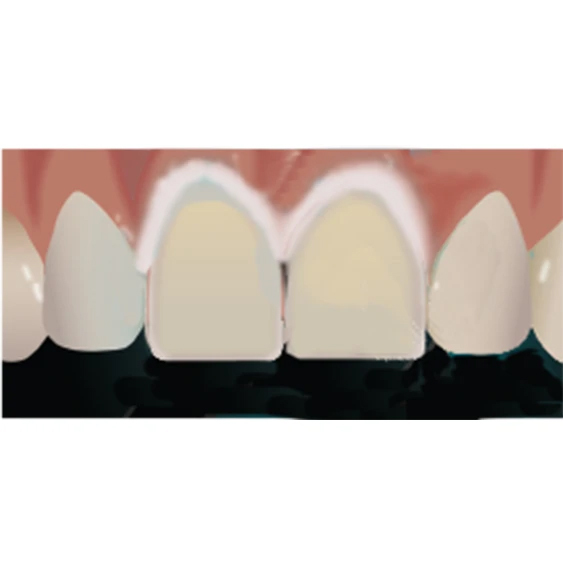
Remove the temporary restorations and clean the preparations (Cavity Cleanser™ and pumice slurry). Rinse thoroughly.
Veneer Cementation of Glass Ceramics Step 3
STEP 3

Try in

Try in the restorations using the corresponding shade of water-soluble try-in paste (Choice™ 2 Try-In Paste). Remove the veneers and either clean with etchant (Uni-Etch® w/BAC or Select HV® Etch w/BAC) and rinse thoroughly, or ultrasonicate in water or alcohol for 2-3 minutes. Dry the restorations.
Veneer Cementation of Glass Ceramics Step 4
STEP 4

Isolate

Try in the restorations using the corresponding shade of water-soluble try-in paste (Choice™ 2 Try-In Paste). Remove the veneers and either clean with etchant (Uni-Etch® w/BAC or Select HV® Etch w/BAC) and rinse thoroughly, or ultrasonicate in water or alcohol for 2-3 minutes. Dry the restorations.
Veneer Cementation of Glass Ceramics Step 5
STEP 5

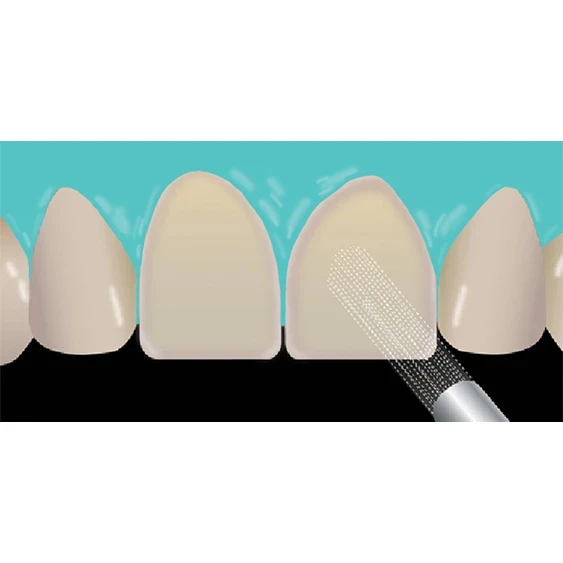
Dispense

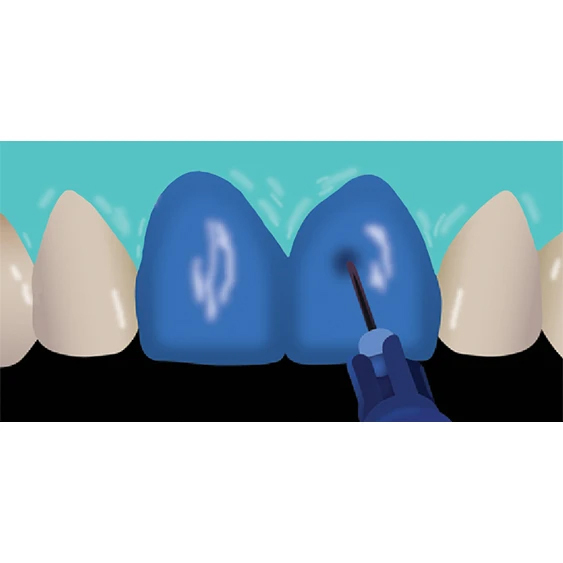
Dispense adhesive (All-Bond Universal®) in a mixing well. Apply 2 separate coats, agitating each coat for 10-15 seconds.
Veneer Cementation of Glass Ceramics Step 6
STEP 6

Air Dry

Dispense adhesive (All-Bond Universal®) in a mixing well. Apply 2 separate coats, agitating each coat for 10-15 seconds.
Veneer Cementation of Glass Ceramics Step 7
STEP 7

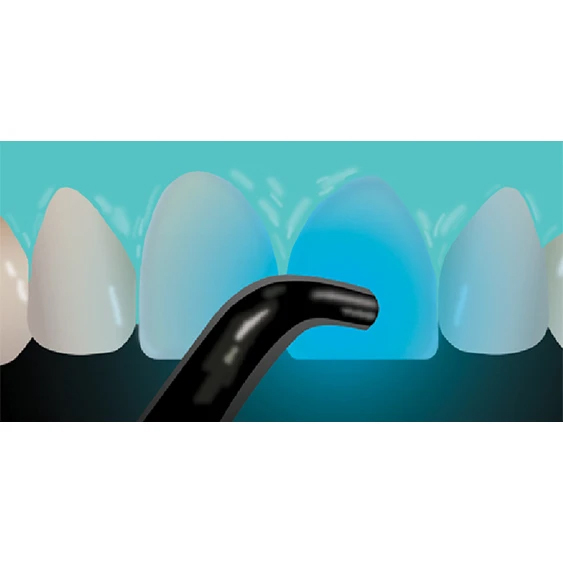
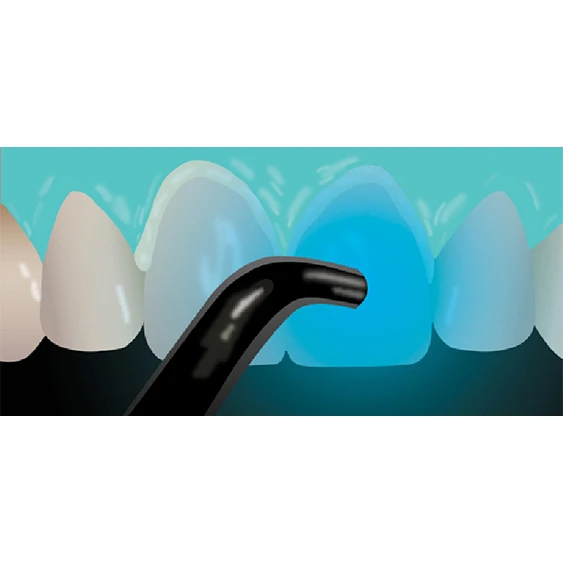
Light cure

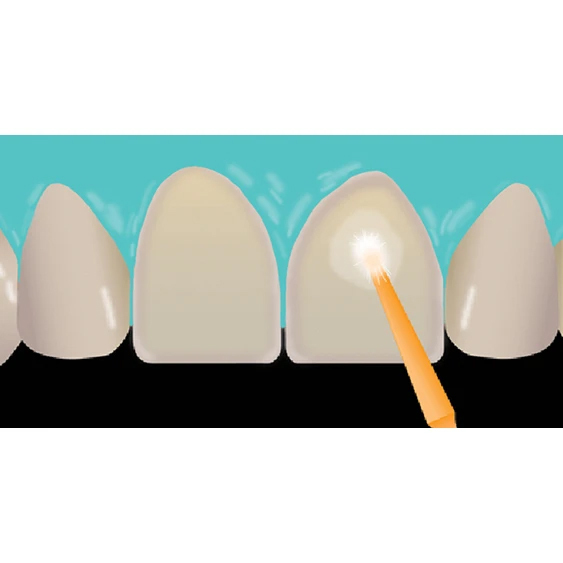
Light cure for 10 seconds.
Veneer Cementation of Glass Ceramics Step 8
STEP 8

Apply

Light cure for 10 seconds.
Veneer Cementation of Glass Ceramics Step 9
STEP 9

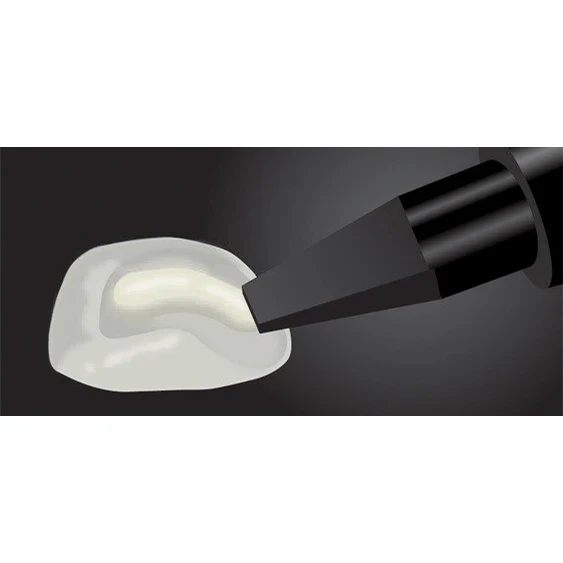
Cementation

A light-cured resin cement (Choice 2 Veneer Cement), fill the internal surface of the restoration with the cement.
Veneer Cementation of Glass Ceramics Step 10
STEP 10

Seat

Seat with gentle, passive pressure and light cure for 2-3 seconds to tack the veneer into place. Remove excess cement, then light cure each veneer for 40 seconds.

Not this case? Explore other procedures.

Quickly find the right materials for your next procedure.